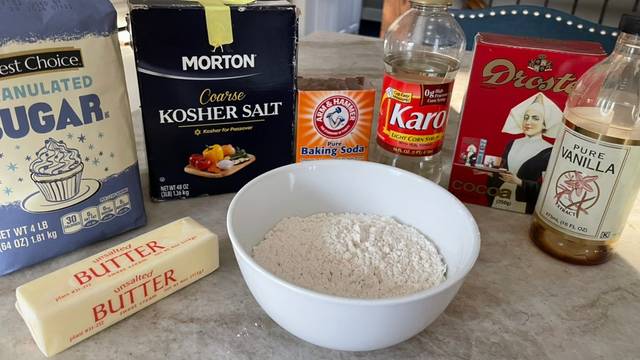
Ingredients for Homemade Oreo Cookies
- For The Cookies:
- 1 stick (4 oz) or 113 g) unsalted butter
- 1/2 cup (3.5 oz) or 98 g) white sugar
- 3 tablespoons (2 oz) or 44 ml) golden syrup or light corn syrup
- 1/2 teaspoon baking soda
- 1/4 teaspoon kosher salt (use half as much if iodized)
- 1/4 teaspoon coconut extract (optional)
- 1 1/4 cups (5 3/4 oz) or 163 g) all purpose flour
- 1/3 cup +1 tablespoon (1 1/4 oz or 35 g) Dutch process cocoa powder, plus more for dusting
- For The Filling:
- 1 1/2 sticks (6 oz) to 170 g) unsalted butter
- 1 teaspoon vanilla extract
- 1/8 teaspoon kosher salt (half as much if iodized)
- 2 cups (8.5 oz) or 241 g) powdered sugar, sifted
Cooking Instructions for making Homemade Oreo Cookies
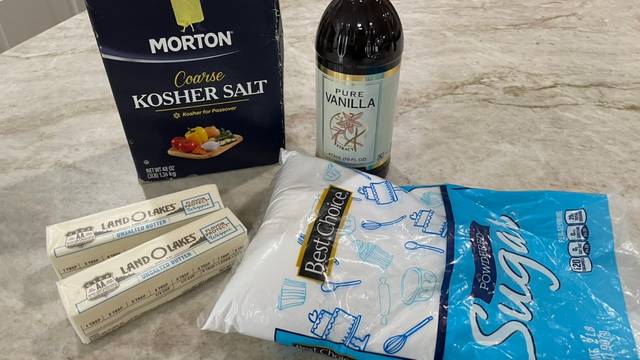
Gather the ingredients. Ensure that the butter is just about room temperature.
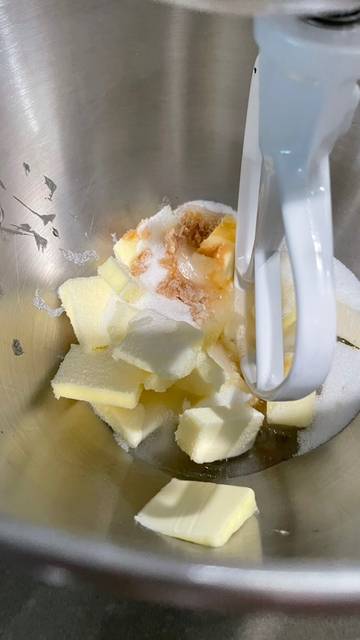
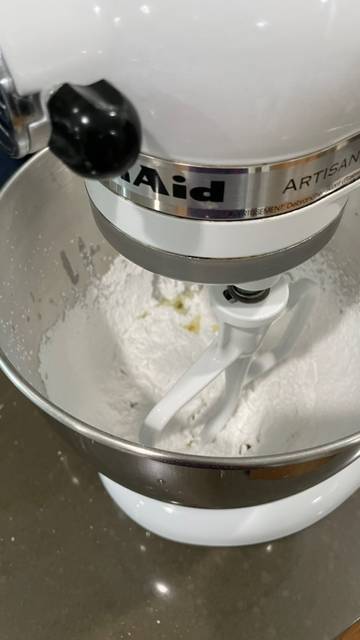
Combine butter, sugar, corn syrup, baking soda, salt, and coconut extract (if using), in the bowl of a stand mixer fitted with a paddle attachment.
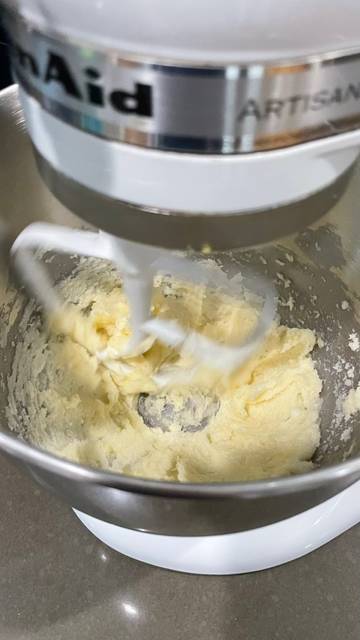
Mix on low speed to moisten, then increase the speed to medium and beat until fluffy and light (~5 minutes).
You can use a hand mixer if you don’t have a stand mixer.
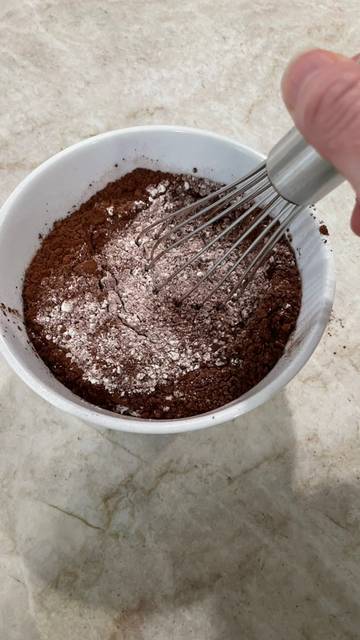
Whisk the flour and cocoa together in a separate bowl.
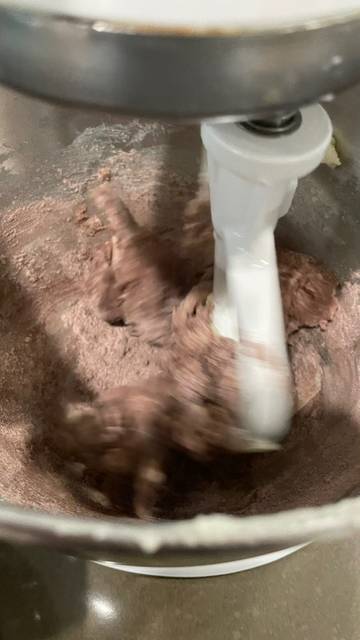
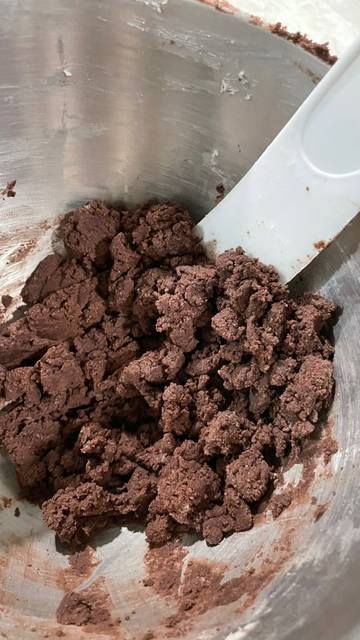
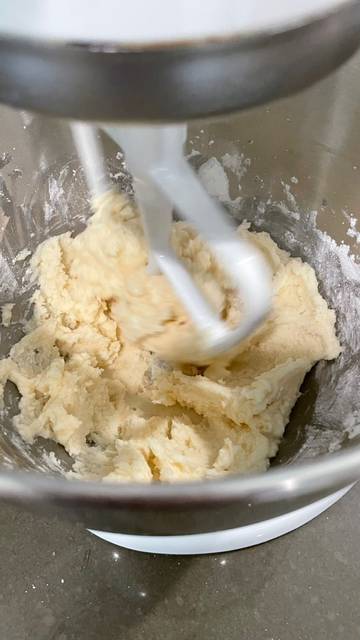
While the stand mixer runs on low, add the flour/cocoa mixture and continue mixing until a stiff dough forms.
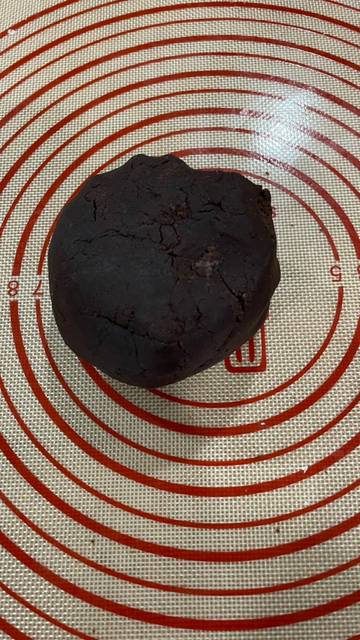
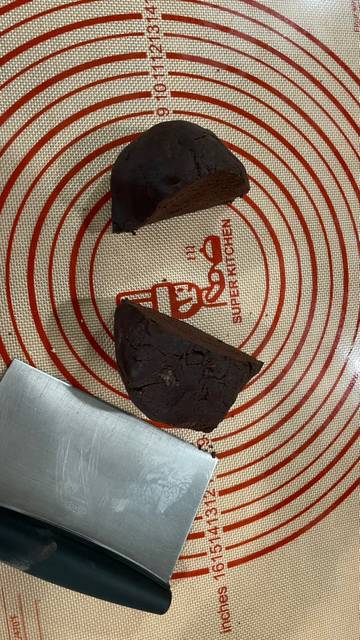
Gather the dough, press into a ball, and divide it in half. Flatten each half into a disc. The stove may be used immediately, or wrapped in plastic and refrigerated for up to 1 week.
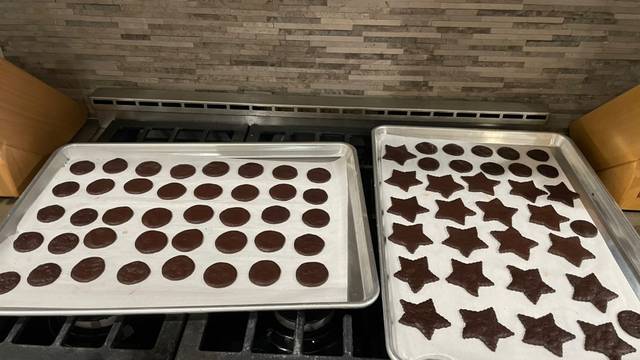
Line cookie sheets with parchment paper.
Preheat your oven to 350°F (177°C).
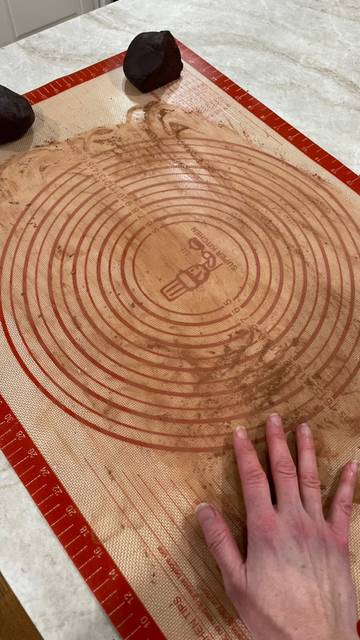
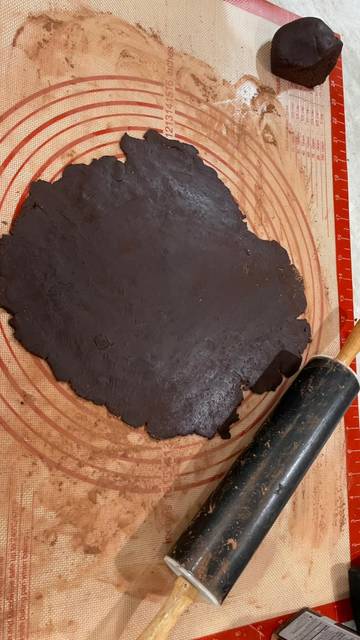
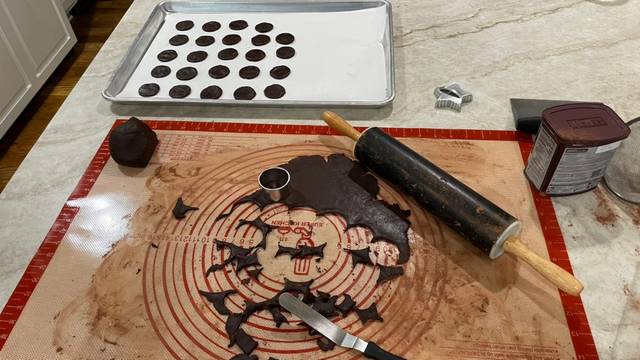
Generously sprinkle your work surface with cocoa powder, then roll a portion of the dough until it is 1/8 inch (4 mm) thick.
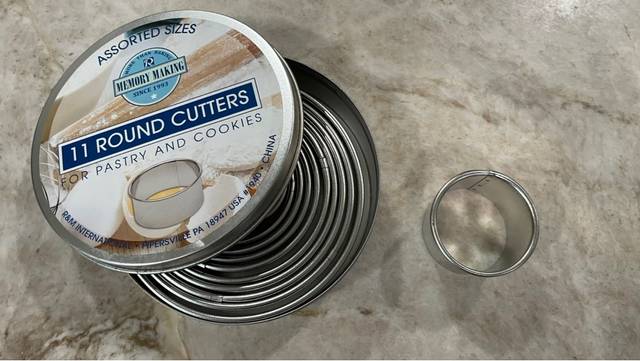
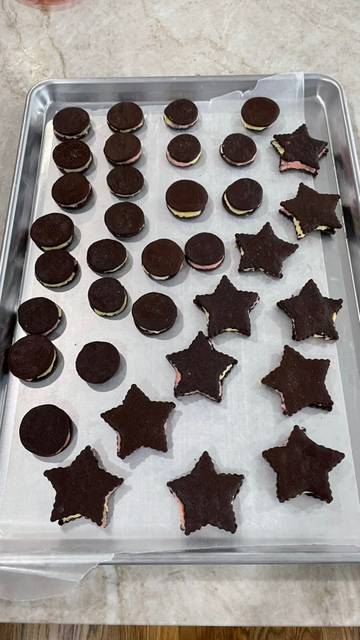
Use round cookie cutters that are approximately 1 1/2 to 2 inches (3.8 to 5.1 cm) in diameter. Alternatively, you can use fluted cookie cutters or any shape that you want. I used round cutters and stars.
Cut the desired shapes, and transfer them to the parchment paper-lined cookie sheet. You may need to use an offset spatula to loosen them from your work surface.
Space them about 1/4 inch (6 mm) apart. The cookies will not spread while baking.
Gather the dough scraps, knead, re-roll, and cut again.
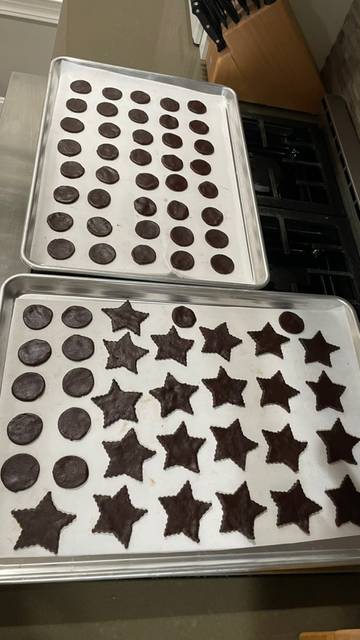
Bake the cookies until they are firm and dry. Start checking for doneness after about 11 minutes. Depending on your oven, it may take 13 or 14 minutes total.
Since the dough is very dark colored, you want to err on the side of the cookies being very slightly underbaked. It will be very difficult to tell whether they have burned if you overshoot the cooking time
Cool the cookies completely on the baking sheets.
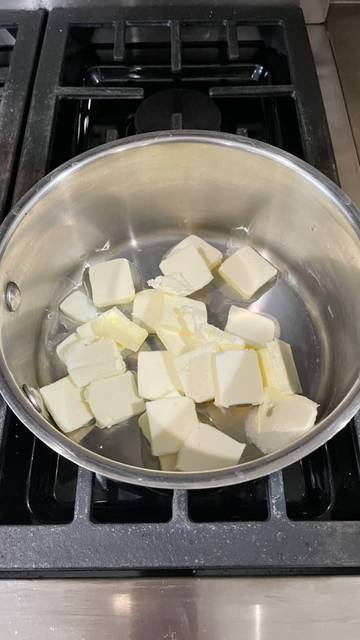
Gather the ingredients for the filling.
This filling cannot be prepared in advance. It will need to be used immediately after preparing it!
In a large pot, melt the butter over medium-low heat, then simmer, stirring constantly with a heat resistant spatula.
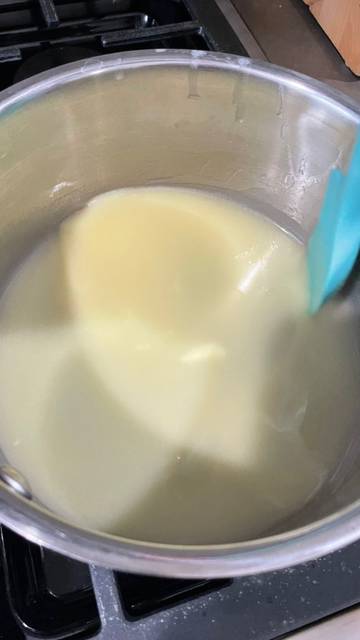
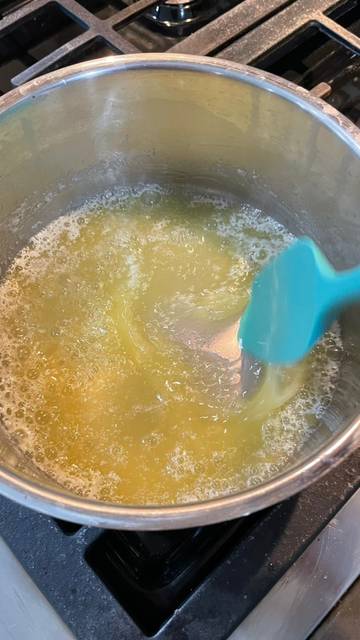
The butter will eventually start hissing and popping. If you notice brown bits forming along the edges, reduce the heat or remove the pot from the heat temporarily.
Continue cooking and stirring until the butter falls silent.
It’s important that you cook off most of the water in the butter. Keep the heat relatively low, and proceed slowly. This step requires patience.
Transfer the butter to the bowl of a stand mixer, fitted with a paddle attachment. Add the vanilla and salt, followed by the sifted powdered sugar.
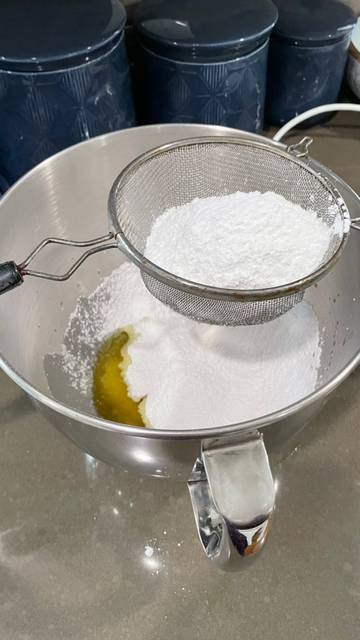
Mix on low speed to moisten, then increase to medium. Beat until creamy and soft, about 5 minutes.

Turn half of the wafers upside down in order to prep them for filling.
Each of the cookies will be filled with about a tablespoon of filling.
Since I wanted colored filling, I divided the filling in half, and added gel food coloring to each batch.

The cookies can be stored in an airtight container at room temperature for up to one week, or up to a month in the fridge.
I think I may have added too much powdered sugar. 😵💫. I was planning on putting the filling into piping bags and filling the cookies that way, but the filling was too thick.
I therefore had to spread the filling onto the wafer cookies with an offset spatula. It was a bit messy, but it got the job done.
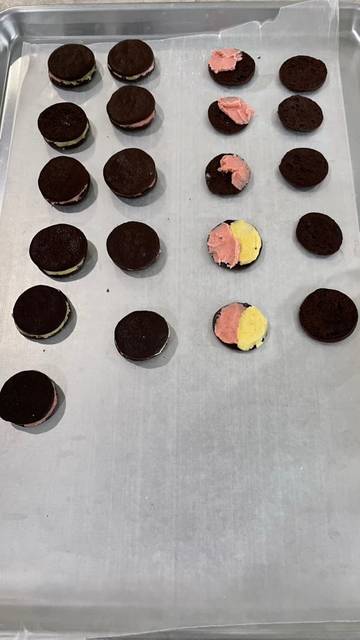
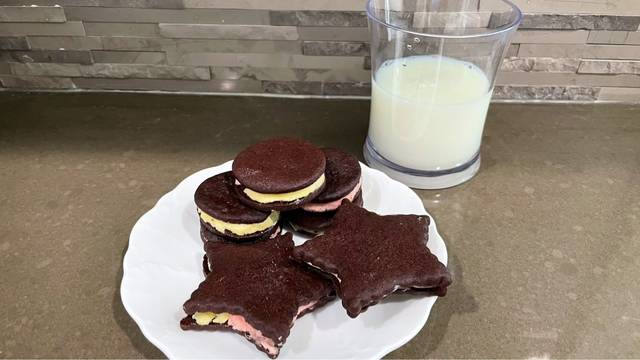
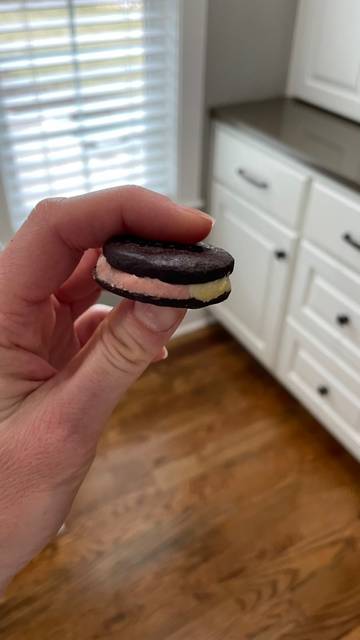
Once the filling has been added to the bottom wafers, top with the remaining wafers, and join them together with a gentle twist.
Leave a Reply