Ingredients for Pokemon themed Victoria sponge cake
- (Cake Batter)
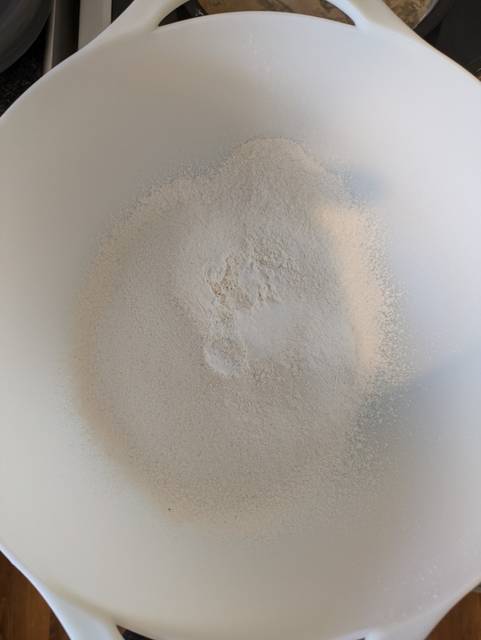
- 240 g self raising flour
- 1/4 tsp baking powder
- 1/4 tsp salt
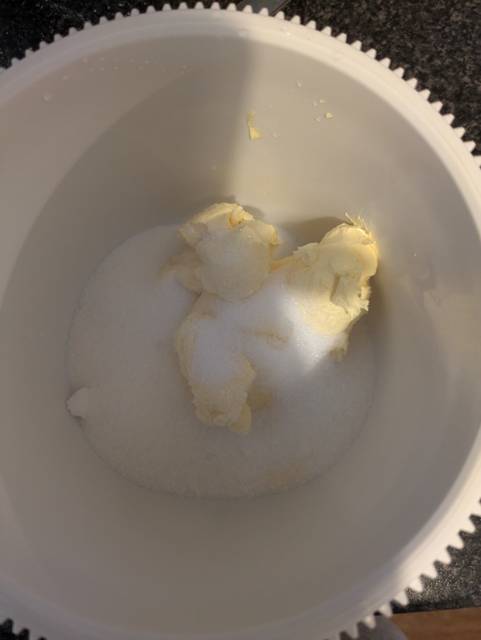
- 225 g unsalted butter
- 223 g granulated sugar
- 4 eggs
- 1 tbsp semi milk
- 2 tsp vanilla extract
- (Butter cream and fondant)
- 140 g softened butter
- 280 g icing sugar
- 1/4 vanilla extract
- Black fondant
- White fondant
- Red fondant
Cooking Instructions for making Pokemon themed Victoria sponge cake
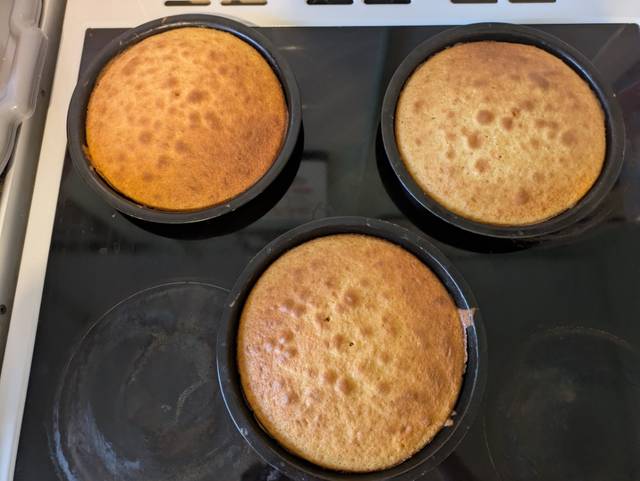
Preheat the oven to 180c.
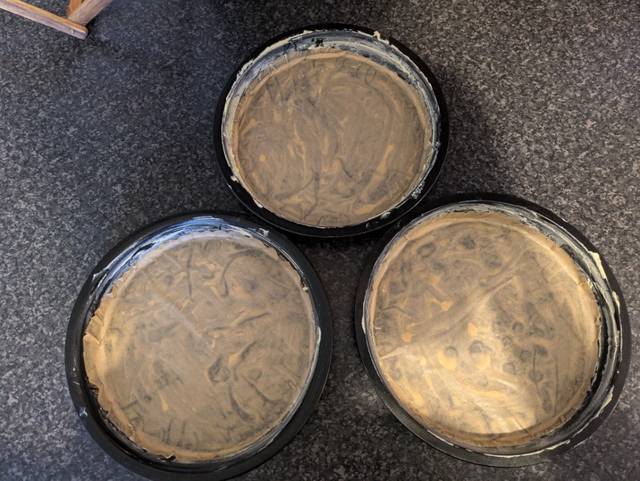
Grease 2-3 round cake pans with butter and line the bottoms with parchment paper.
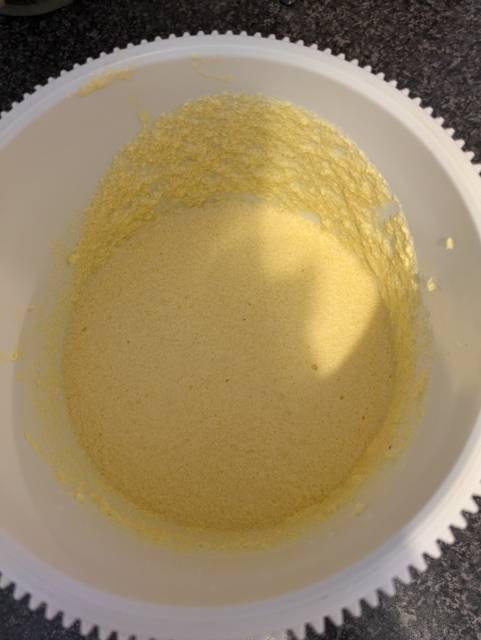
In a medium bowl, sift together the flour, baking powder, and salt and set aside.
You can either do this by hand or with a mixer.
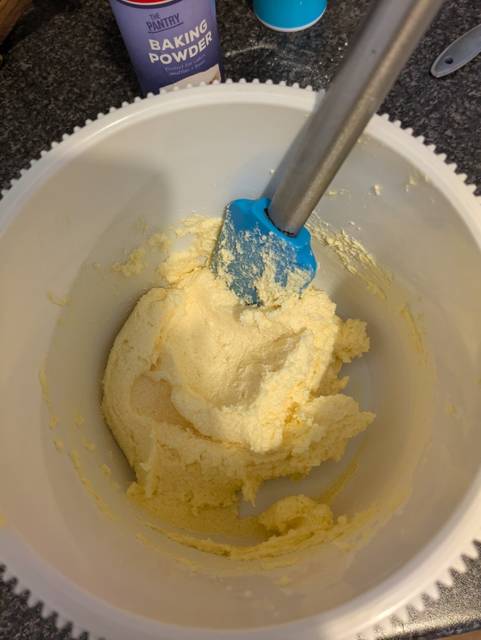
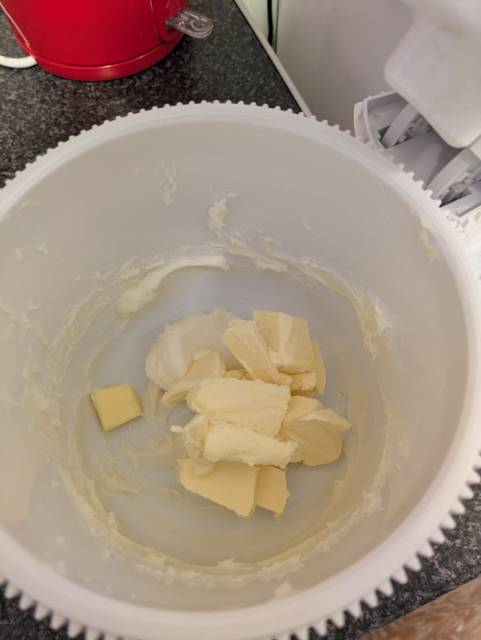
In a large mixing bowl or the bowl of a stand mixer, beat the butter and sugar together until smooth.
Add your eggs one at a time, milk and vanilla extract to the butter and sugar and mix again until combined.
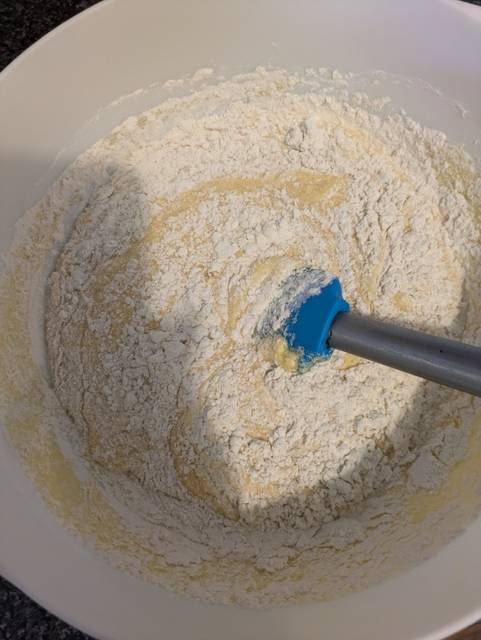
Fold your wet ingredients into your dry ingredients with a spatula until combined (don’t over mix)
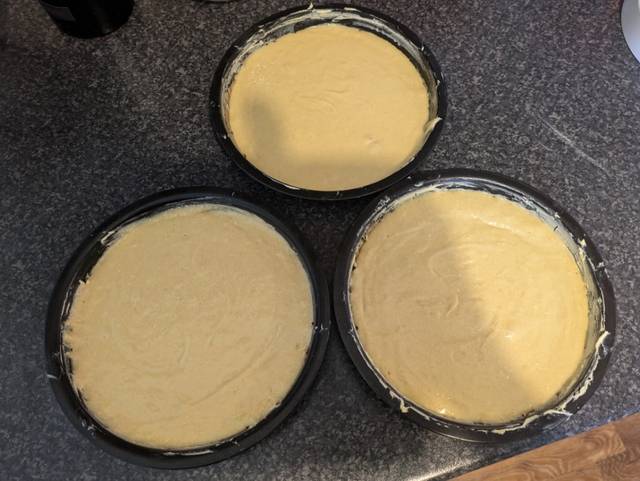
Divide your batter into your cake tins and smooth with a spatula.
Bake in the center of your oven for 20-25 minutes or until golden on top and a toothpick goes in and comes out clean.
Leave in the tin to cool for 5-10 minutes then take out of the tin and Leave to cool completely.
Hour or two should do it.😉
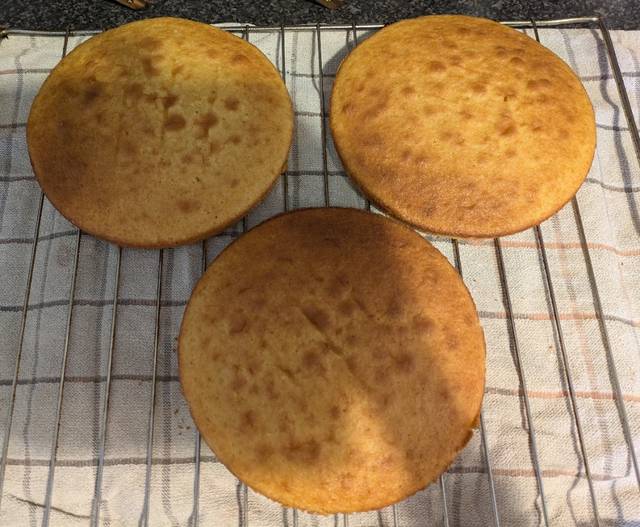
When your cakes are completely cooled,
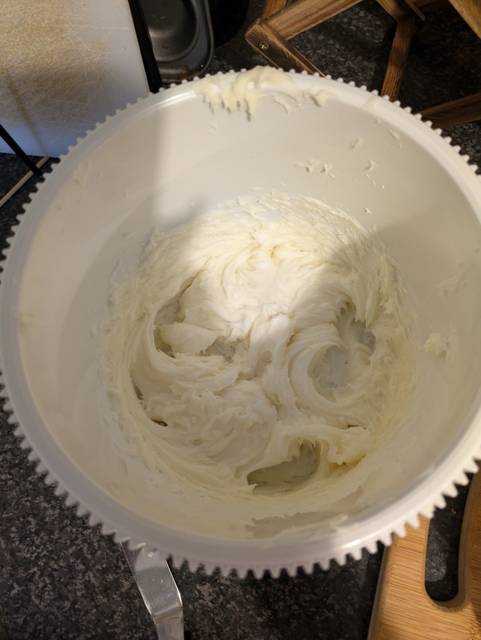
Let’s start making the butter cream;
So in the bowl of your mixer add your softened butter, icing sugar, vanilla.and milk and mix until combined. Set aside.
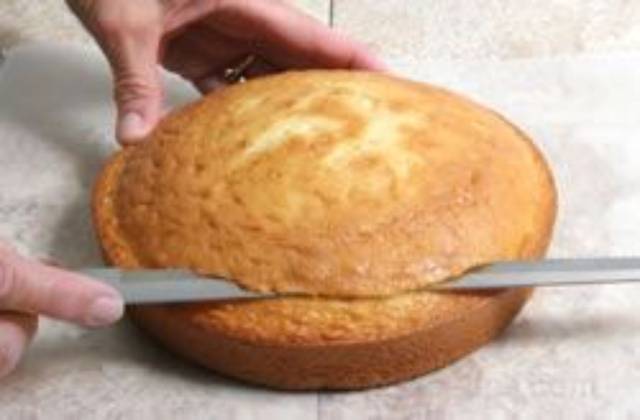
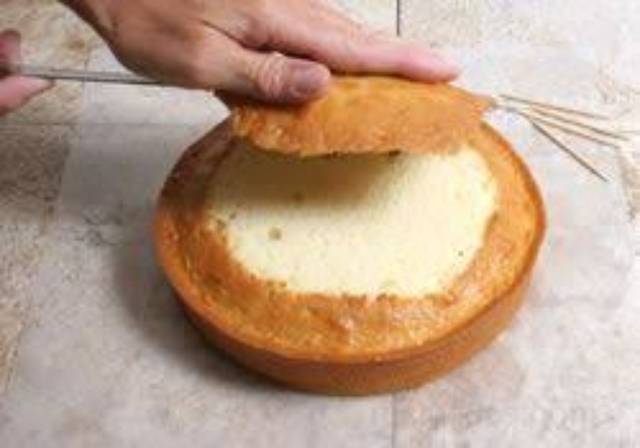
If your cakes have domes you may need to level them out. To do this:
Place your cakes on a board or hard surface and using a bread knife slowly start slicing the caramelised top of your cake so you have a flat surface. 👇
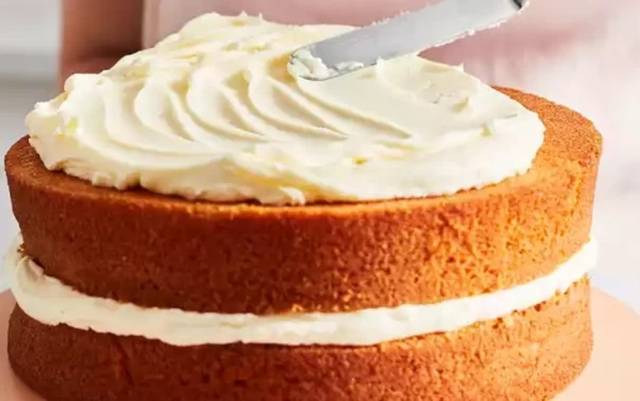
Icing time!
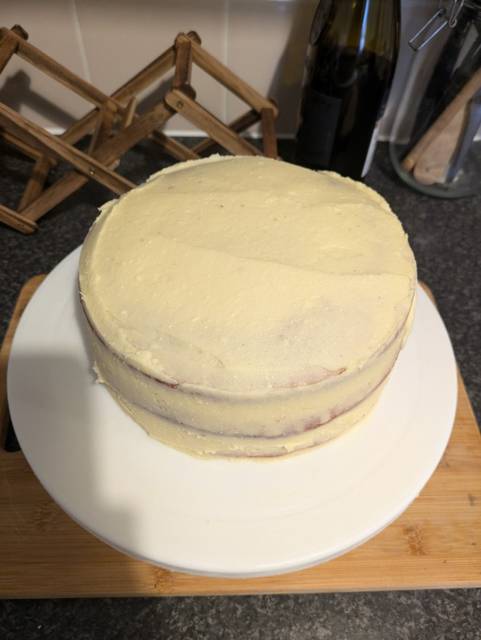
Place one cake on a rotating cake stand and spread the butter icing on top, pick up another cake and stack that cake on top of the 1st and spread icing on top. then stack again.
Next ice the entire 3 layers. The sides first and then the top and smooth it out with a spatula and scrapers.
Put your iced cake into the fridge for 1-2 hours.
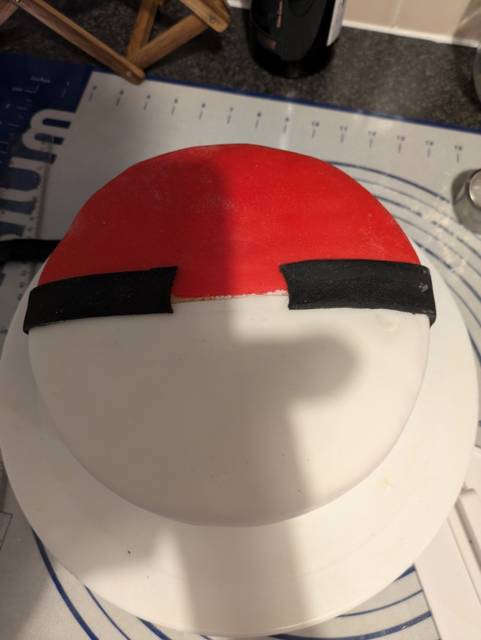
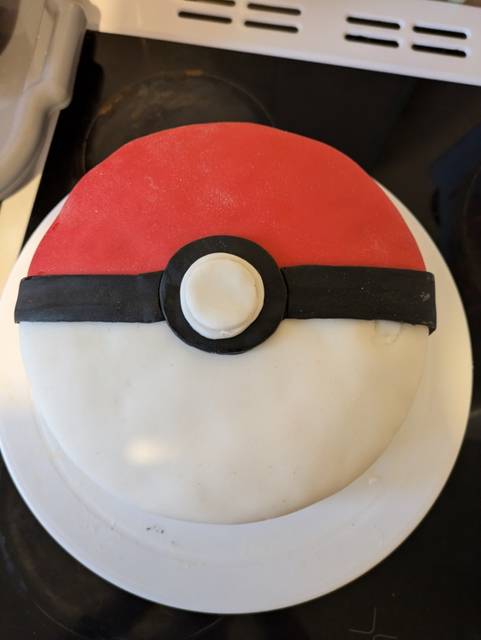
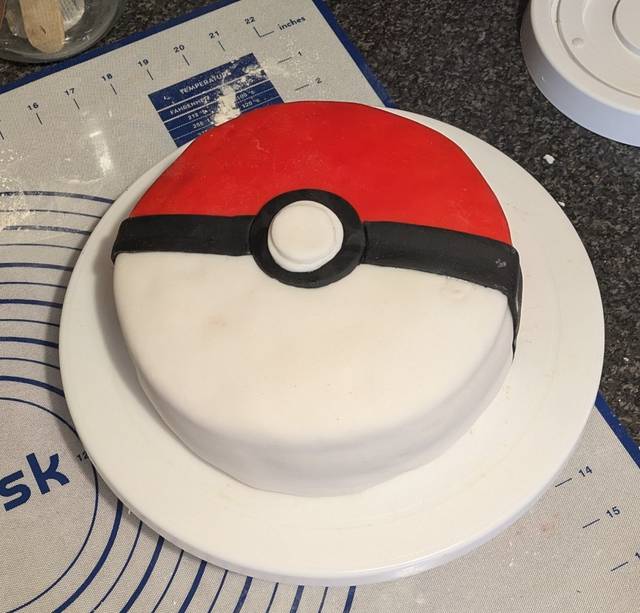
Fondant time.
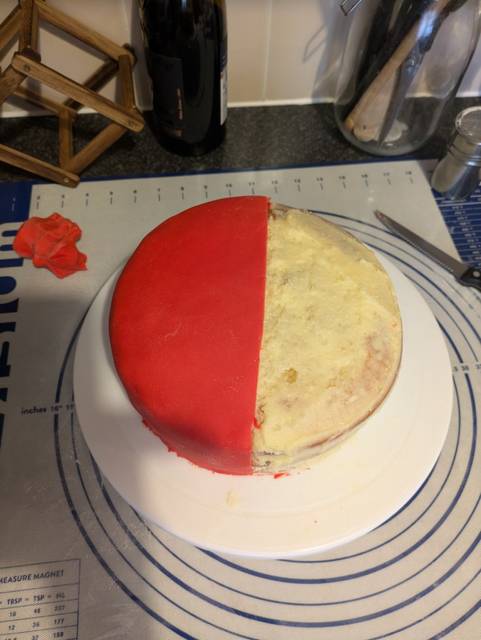
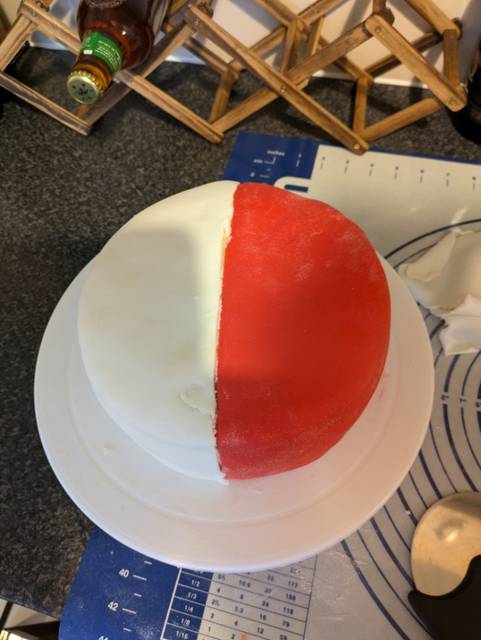
First, start kneading your red fondant so it’s smooth and flexible.
Roll out the red fondant so it can fit around half your cake, use your icing smoother to smooth down the edges and any excess you can cut off.
Knead and roll out your white fondant so it can fit around the other half going up to the red fondant, cut off any excess and smooth down.
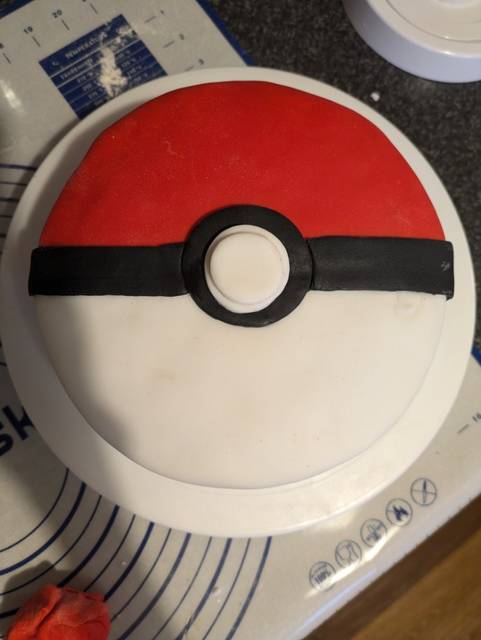
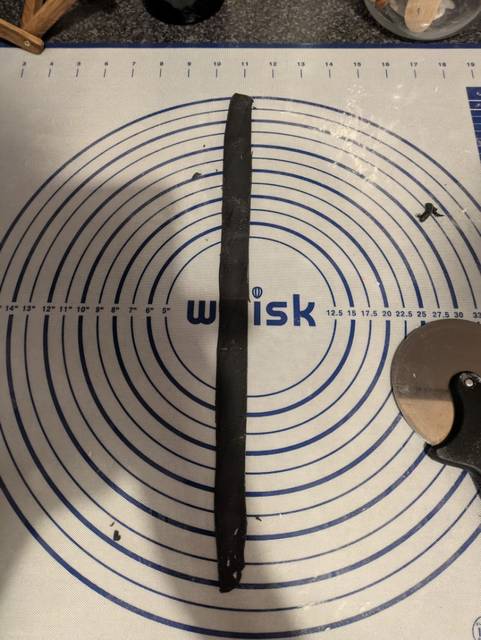
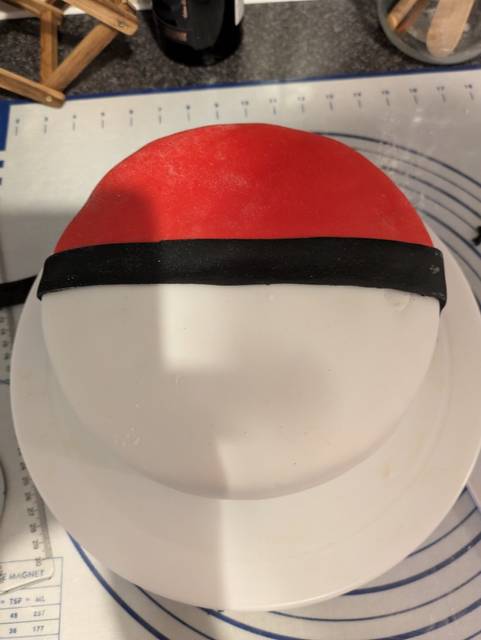
For the black belt:
Knead your black fondant and roll a small part into a sausage and roll out to flatten that sausage 35cmL 2cmW, picture below, brush with water and stick around the center of the cake.
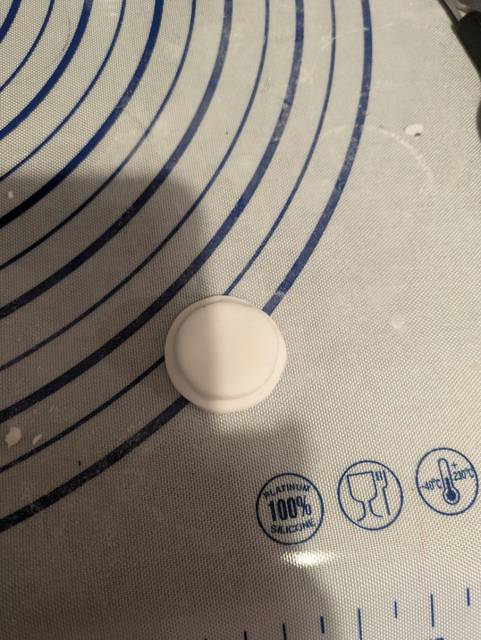
Cut out 3 circles for the button, one with black fondant and 2 with white fondant.
Black: cup size
White: slightly smaller
White: slightly smaller again.
Little water and stack them on top of each other so they stick together.

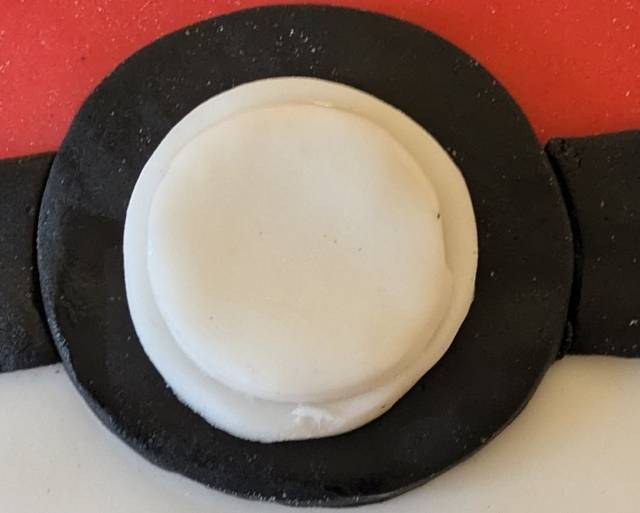
Using The cup/cutter you used for the outer circle for your button make a dent right in the center of your cake (this is where your button will go) get rid of the excess of black belt where the button will cover (picture shown below)
Use a little water and stick your button to the cake.
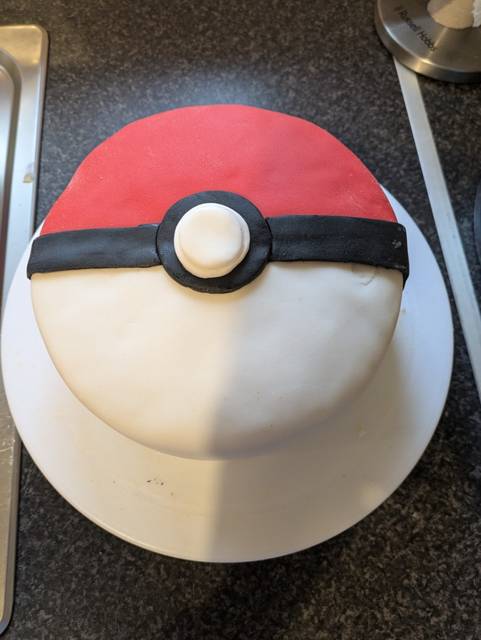
Done 👍 enjoy your Pokemon themed pokeball cake 🍰 😍😄


Leave a Reply